Creating a Custom Ubuntu Template in Proxmox with Cloud-Init: A Step-by-Step Guide

Prepare Cloud-Init Templates
- SSH into your Proxmox host.
- Download the Ubuntu Cloud-Init image.
wget https://cloud-images.ubuntu.com/groovy/current/groovy-server-cloudimg-amd64.img
- Create the new VM to be used as a template. In the following example “9000” is the VM id. Set this to anything that you’d like. It is set to 9000 here so that it doesn’t interfere with any other VMs and is listed after the existing VMs as they are listed in numerical order.
qm create 9000 --memory 2048 --net0 virtio,bridge=vmbr0
- Import the img to the local-lvm storage
qm importdisk 9000 bionic-server-cloudimg-amd64.img local-lvm
- Attach the disk that was just created to the VM as a SCSI drive. Ubuntu Cloud-Init images requires the
virtio-scsi-pcicontroller type for SCSI drives.
qm set 9000 --scsihw virtio-scsi-pci --scsi0 local-lvm:vm-9000-disk-1
- Configure a CDROM drive, used to pass the Cloud-Init data to the VM.
qm set 9000 --ide2 local-lvm:cloudinit
- Configure a serial console to be used as the display.
qm set 9000 --serial0 socket --vga serial0
- Create the template
qm template 9000
Deploy Cloud-Init Templates
- Clone the template. In this example “150” is the desired id of the VM.
qm clone 9000 150 --name ubuntu
- Optional: Configure SSH Public Key – If you do not do this, you will likley need to modify the sshd conf file to allow password authentication in order to ssh into the new VM.
qm set 150 --sshkey ~/.ssh/id_rsa.pub
- Optional: Configure networking. This can be done from the gui before booting the VM or you can allowd DHCP to assign the IP address.
qm set 150 --ipconfig0 ip=192.168.1.100/24,gw=192.168.1.1
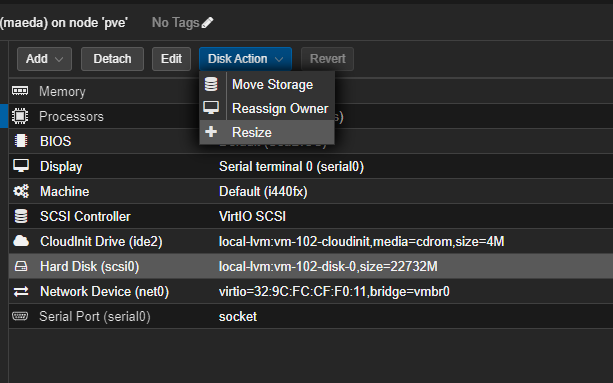
- At this point I like to increase the disk space before starting the VM. Cloud-init starts with a very small disk. Increase using the GUI to your desired size.

- Start the VM.

